Bathroom Remodel Step by Step: Your Complete 2026 Guide

TL;DR:
- Most bathroom remodel failures occur due to sequencing mistakes, permit issues, and late material orders. Following a detailed step-by-step process ensures projects finish on time and within budget, emphasizing planning, permits, early material orders, and proper sequencing. Active homeowner engagement and effective contractor communication are crucial for a smooth, successful renovation.
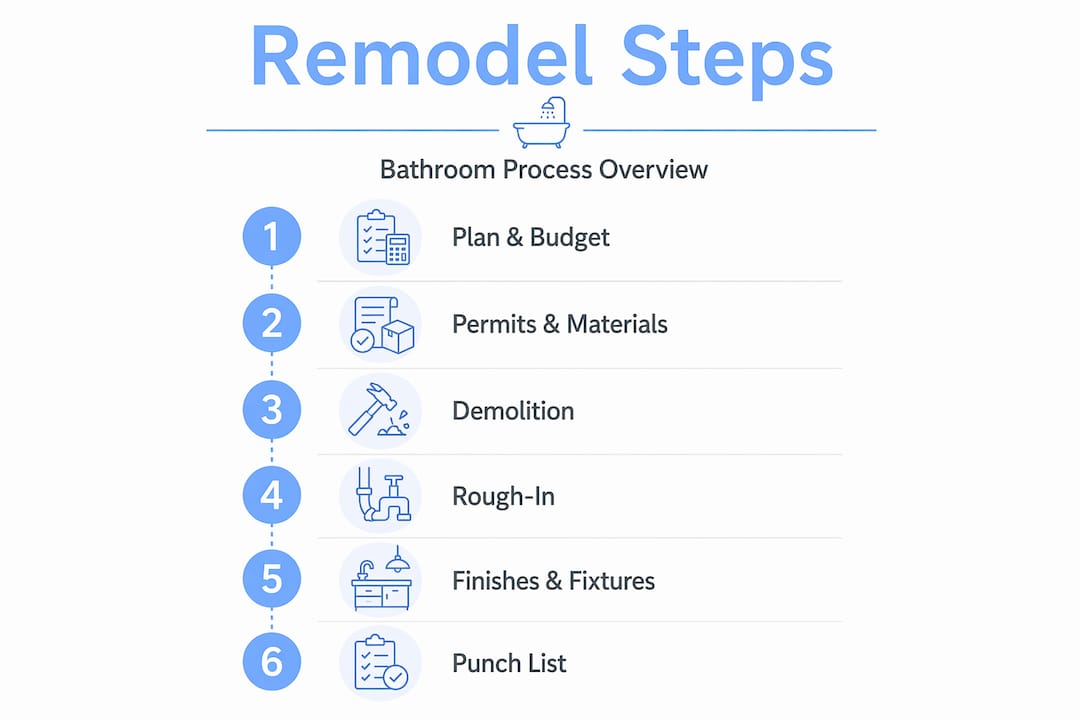
Most bathroom remodels don’t fail because of bad taste or poor craftsmanship. They fail because of sequencing mistakes, missed permits, and materials that weren’t ordered until week three. Following a bathroom remodel step by step process is what separates projects that finish on time and on budget from those that drag on for months, hemorrhaging money along the way. This guide walks you through every phase of a bathroom remodel — from the first planning conversation to the final punch list — so you know exactly what to do, in what order, and why it matters.
Table of Contents
- Key takeaways
- Bathroom remodel step by step: planning and preparation
- Demolition and rough-in work
- Waterproofing, tile, and surface finishes
- Installing fixtures, cabinetry, and final finishes
- Avoiding common pitfalls and staying on budget
- What most remodel guides don’t tell you
- Start your remodel the right way with Bidwolf
- FAQ
Key takeaways
| Point | Details |
|---|---|
| Plan before you demo | Finalize design, pull permits, and order materials before swinging a single hammer. |
| Sequence is everything | Following the correct construction order prevents costly rework and inspection failures. |
| Order materials early | Custom vanities take 6 to 12 weeks to arrive — delays that kill timelines if overlooked. |
| Budget for surprises | Set aside 15 to 20% of your total budget for hidden damage discovered during demolition. |
| Communication wins remodels | Clear, consistent communication with your contractor reduces errors and keeps work on track. |
Bathroom remodel step by step: planning and preparation
Before any tile gets pulled or a single wall gets touched, your planning phase is where a remodel is won or lost. This is where most homeowners underestimate the work involved, and it costs them weeks and thousands of dollars later.
Set a realistic budget and timeline first. A standard bathroom remodel takes 4 to 6 weeks; a full gut and rebuild typically runs 8 to 12 weeks depending on complexity and material lead times. Build your schedule around those numbers, not the optimistic scenario.
Your budget needs two buckets. The first covers your known costs: labor, tile, fixtures, cabinetry, and permits. The second is your contingency fund. Set aside at least 15 to 20% of your total budget for what you find behind walls and under floors. Mold, water damage, rotted subfloors — these are common and expensive, and you will be glad you planned for them.
Create a needs vs. wants list. Walk through your bathroom and write down what you need (a working shower, adequate storage, updated plumbing) versus what you want (heated floors, a freestanding soaking tub, custom tile work). Your needs get funded first. Your wants get added only if the budget allows. This single exercise prevents the budget creep that kills more remodels than bad contractors do.
Pull your permits early. Many homeowners skip this step and pay dearly for it later. Unpermitted work can block a home sale, result in fines, or require expensive tear-outs to pass inspection. Contact your local building department before demolition begins. Permit approval timelines vary widely by city, so factor that into your schedule.
Order your materials before demolition. This is the most overlooked step in any stepwise home repair guide. Custom vanities take 6 to 12 weeks, specialty tile runs 4 to 8 weeks, and even standard fixtures can take 2 to 4 weeks. If you wait until demo is done to finalize selections, your bathroom will sit gutted and unusable for weeks longer than necessary.
Here is what your pre-demo checklist should cover:
- Final design plan with dimensions confirmed
- Building permits applied for or approved
- All materials selected and ordered (tile, vanity, fixtures, lighting)
- Temporary bathroom arrangements made if you have only one bathroom
- Contractor schedule confirmed with start and milestone dates
Pro Tip: When setting your contingency fund, treat it as non-negotiable. Every contractor who has opened a wall in an older home has a horror story. Yours might be the next one.
Demolition and rough-in work
With permits in hand and materials on order, it’s time to start tearing things apart. This is where the work gets real, and where sequence matters most. A structured 10-phase construction process reduces rework and schedule delays, and it starts right here.
Protecting the rest of your home
Before the first fixture comes out, set up containment. Dust containment barriers and sealed HVAC vents keep construction debris from spreading through the house. Use plastic sheeting across doorways, seal the return air vents in the bathroom, and protect flooring in adjacent hallways with rosin paper or cardboard.
The demolition sequence
Work from top to bottom and from fixtures outward. Here is the order that prevents damage and keeps the work efficient:
- Remove mirrors, accessories, and light fixtures first.
- Shut off water supply and disconnect plumbing fixtures (toilet, sink, shower).
- Remove the toilet, then the vanity.
- Strip wall tile and remove the tub or shower unit.
- Pull up floor tile and assess the subfloor condition.
- Remove drywall or cement board, and inspect framing for damage.
When you open the walls, take your time inspecting what you find. Mold, slow leaks, and water-damaged framing are common discoveries. Document everything with photos before patching or replacing, especially if insurance is involved.
Pro Tip: If your existing water shut-off valves are in good shape, replace them anyway while the wall is open. It costs almost nothing now and prevents a much bigger headache later.
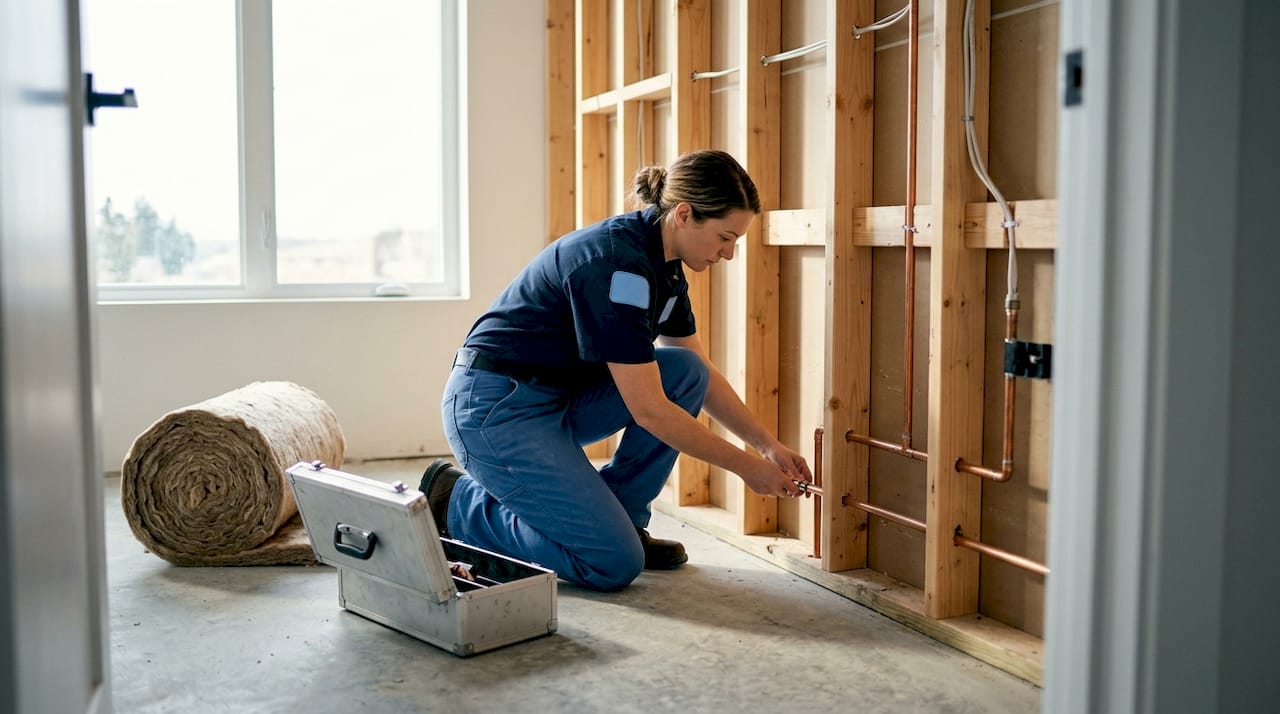
Rough-in plumbing, electrical, and framing
Once the space is cleared and any structural issues are addressed, your plumber and electrician do their rough-in work. This means running new pipes to updated fixture locations, adding circuits for GFCI outlets and lighting, and making any framing changes needed for a new layout. These trades often need to coordinate their work, so schedule them in close sequence.
After rough-ins are complete, do not close the walls until inspections pass. Inspections typically take 3 to 7 days to schedule, and a failed inspection adds 1 to 2 weeks to your timeline. Schedule your inspection appointment the day rough-in work starts. Don’t wait until it’s done.
Also, verify your rough-in dimensions before ordering fixtures. Confirming rough-in measurements before placing fixture orders prevents expensive plumbing reroutes down the road.
Waterproofing, tile, and surface finishes
Once inspections pass and walls are closed, you move into the phase that defines how your bathroom looks and holds up over time. Get this sequence right, and your remodel will last decades. Rush it, and you will be tearing tile off the walls within a few years.
Waterproofing comes first
The shower area requires a proper waterproof membrane before any tile goes down. This is not optional, and it is not an area to cut costs. Failed waterproof membranes cost $5,000 to $15,000 or more to repair after tile is installed, because everything has to come back off.
Apply your membrane to the shower walls and shower floor, paying close attention to corners and transitions. Let it cure fully according to the manufacturer’s instructions. Then test the shower pan before tiling.
Pro Tip: To test your shower pan, plug the drain and fill the pan with water to the level of the curb. Let it sit for 24 hours and check for any drop in water level. Finding a leak now costs almost nothing to fix. Finding it after tile is installed is a completely different story.
Tile installation order
The order you tile in matters. Work in this sequence to protect finished surfaces and maintain clean grout lines:
| Surface | Installation order | Why it matters |
|---|---|---|
| Shower walls | First | Sets the visual pattern; protects waterproofing layer |
| Shower floor | Second | Cut tiles fit against wall tile for cleaner edges |
| Bathroom floor | Third | Avoids cracking tiles from foot traffic during wall work |
| Remaining walls | Last | Minimizes risk of damage from other phases |
Use the correct mortar for each surface — large-format tiles and shower floors need specific products. Allow grout to cure fully before exposing it to water. Most grout requires 48 to 72 hours, but follow the manufacturer’s specification.
Painting and wall finishes
Paint goes on after tile is complete. Use a mildew-resistant, satin or semi-gloss finish specifically formulated for bathrooms. Flat paint absorbs moisture and will peel within a year in a high-humidity space.
Apply primer first, especially on new drywall. Two coats of finish paint are standard. Let the final coat dry completely before moving into the fixture installation phase, as you don’t want paint damage from installation work.
Installing fixtures, cabinetry, and final finishes
You are in the home stretch. This phase is about precision, not speed. Rushing fixture installation is how you end up with a crooked vanity, a leaking toilet, or a light fixture that isn’t level. Take your time and work in the right order.
The fixture installation sequence
Follow this order to protect finished surfaces and reduce the chance of damage:
- Install the vanity cabinet (without the countertop) and any built-in shelving or niches.
- Set the countertop and connect the sink.
- Install faucets, drain assemblies, and supply lines.
- Install the shower valve trim, showerhead, and any shower accessories.
- Install the toilet last to prevent damage from foot traffic and falling tools.
- Mount light fixtures and connect electrical covers and outlet plates.
- Install the mirror, medicine cabinet, towel bars, and accessories.
Installing vanities before faucets and drains, with the toilet last, follows the sequencing logic that minimizes risk across all finishing phases.
Pro Tip: Before you grout around the toilet base or caulk the vanity, run every plumbing fixture and let it operate for 10 to 15 minutes. Check every connection under the sink, behind the toilet, and at the shower valve. A slow drip at this stage is easy to fix. Ignoring it means a call back to the plumber in six months. A single leaking faucet can waste up to 3,000 gallons of water per year, so test everything thoroughly.
Creating your punch list
Once all fixtures are installed, walk through the bathroom with a notepad. A punch list is your documented record of every item that still needs correction before the project officially closes out. Look for:
- Grout lines that need touch-ups or resealing
- Caulk gaps around the tub, shower, or vanity
- Cabinet doors that need adjustment
- Paint touch-ups near tile edges or trim
- Light fixtures that aren’t level or fully secured
- Any hardware that wobbles or doesn’t operate smoothly
Go through the punch list with your contractor before making final payment. Every item on that list should have a completion date attached to it.
Avoiding common pitfalls and staying on budget
Even well-planned remodels hit complications. The difference between a project that recovers quickly and one that spirals is how prepared you are to handle issues when they come up. This is where your bathroom renovation guide needs to go beyond the pretty parts.
- Material delays are the most common schedule killer. Ordering errors and late selections stall more projects than any other single factor. If a tile is backordered, find a substitute before demo starts — not after.
- Hidden damage behind walls is nearly universal in homes over 20 years old. Budget and schedule for it. When your contractor discovers rot, mold, or failing pipes, you want to address it properly rather than patch it and move on.
- Inspection scheduling creates real gaps in your workflow. Schedule inspections 1 to 2 weeks ahead of when you expect to need them. Most inspectors’ calendars fill up fast, and a week-long gap at the rough-in stage is a week your bathroom sits unusable.
- Vague contracts create disputes. Your contractor agreement should specify materials by name, model number, and finish. It should list every phase of work, the payment schedule tied to milestones, and what happens if something changes.
“The homeowners who have the best remodel experiences are the ones who stayed engaged throughout the process. They asked questions, showed up during key phases, and held their contractors accountable to the agreed scope.” — contractor communication research
Pro Tip: When reviewing contractor bids, ask for a written breakdown that separates labor from materials. A bid that lumps everything together makes it impossible to compare proposals fairly or identify where cost overruns are coming from. Learn how to read contractor bid examples before you sign anything.
For more ideas on how Texas homeowners have approached their remodels, the Texas bathroom remodel guide on the Bidwolf blog covers real project examples with practical takeaways.
What most remodel guides don’t tell you
I’ve read dozens of bathroom remodel guides, and most of them focus heavily on aesthetics. Which tile is trending, which vanity style is popular, which paint color feels spa-like. All of that is fine, but it’s not why remodels succeed or fail.
In my experience, the remodels that go smoothly share one trait: the homeowner made functional decisions early. They thought about where towels would hang, how many people use the bathroom, whether they needed more storage or better lighting, and where water would drain. Then they froze those decisions before demo started. Every change after demo adds cost and time.
The permit and material ordering steps are the two most consistently skipped steps I see, and they cause the most damage. Homeowners get excited, they want to start, and they push the contractor to begin before permits are approved or materials have arrived. Then the project stalls, everyone is frustrated, and the “quick remodel” turns into a three-month ordeal.
What I’d tell every homeowner planning a step by step home remodel is this: the first three weeks should be almost entirely paperwork and phone calls. Design finalization, permit applications, material orders, contractor agreements. That period of what feels like no visible progress is actually where the whole project is built. When demo starts, everything should already be in place.
Unexpected discoveries changed my own thinking on this permanently. When a wall comes off and you find a decade of slow water damage behind it, you are grateful for that contingency fund. You are not surprised, because you planned for it. And you are able to fix it properly without blowing up your entire budget.
Stay engaged throughout the process. Show up during key phases. Ask your contractor to walk you through what they’re doing and why. Effective homeowner-contractor communication is not a soft skill. It is a project management tool.
— Devin
Start your remodel the right way with Bidwolf
Planning a bathroom remodel is a big undertaking, and finding the right contractor is one of the most important decisions you’ll make. Bidwolf makes that process straightforward.
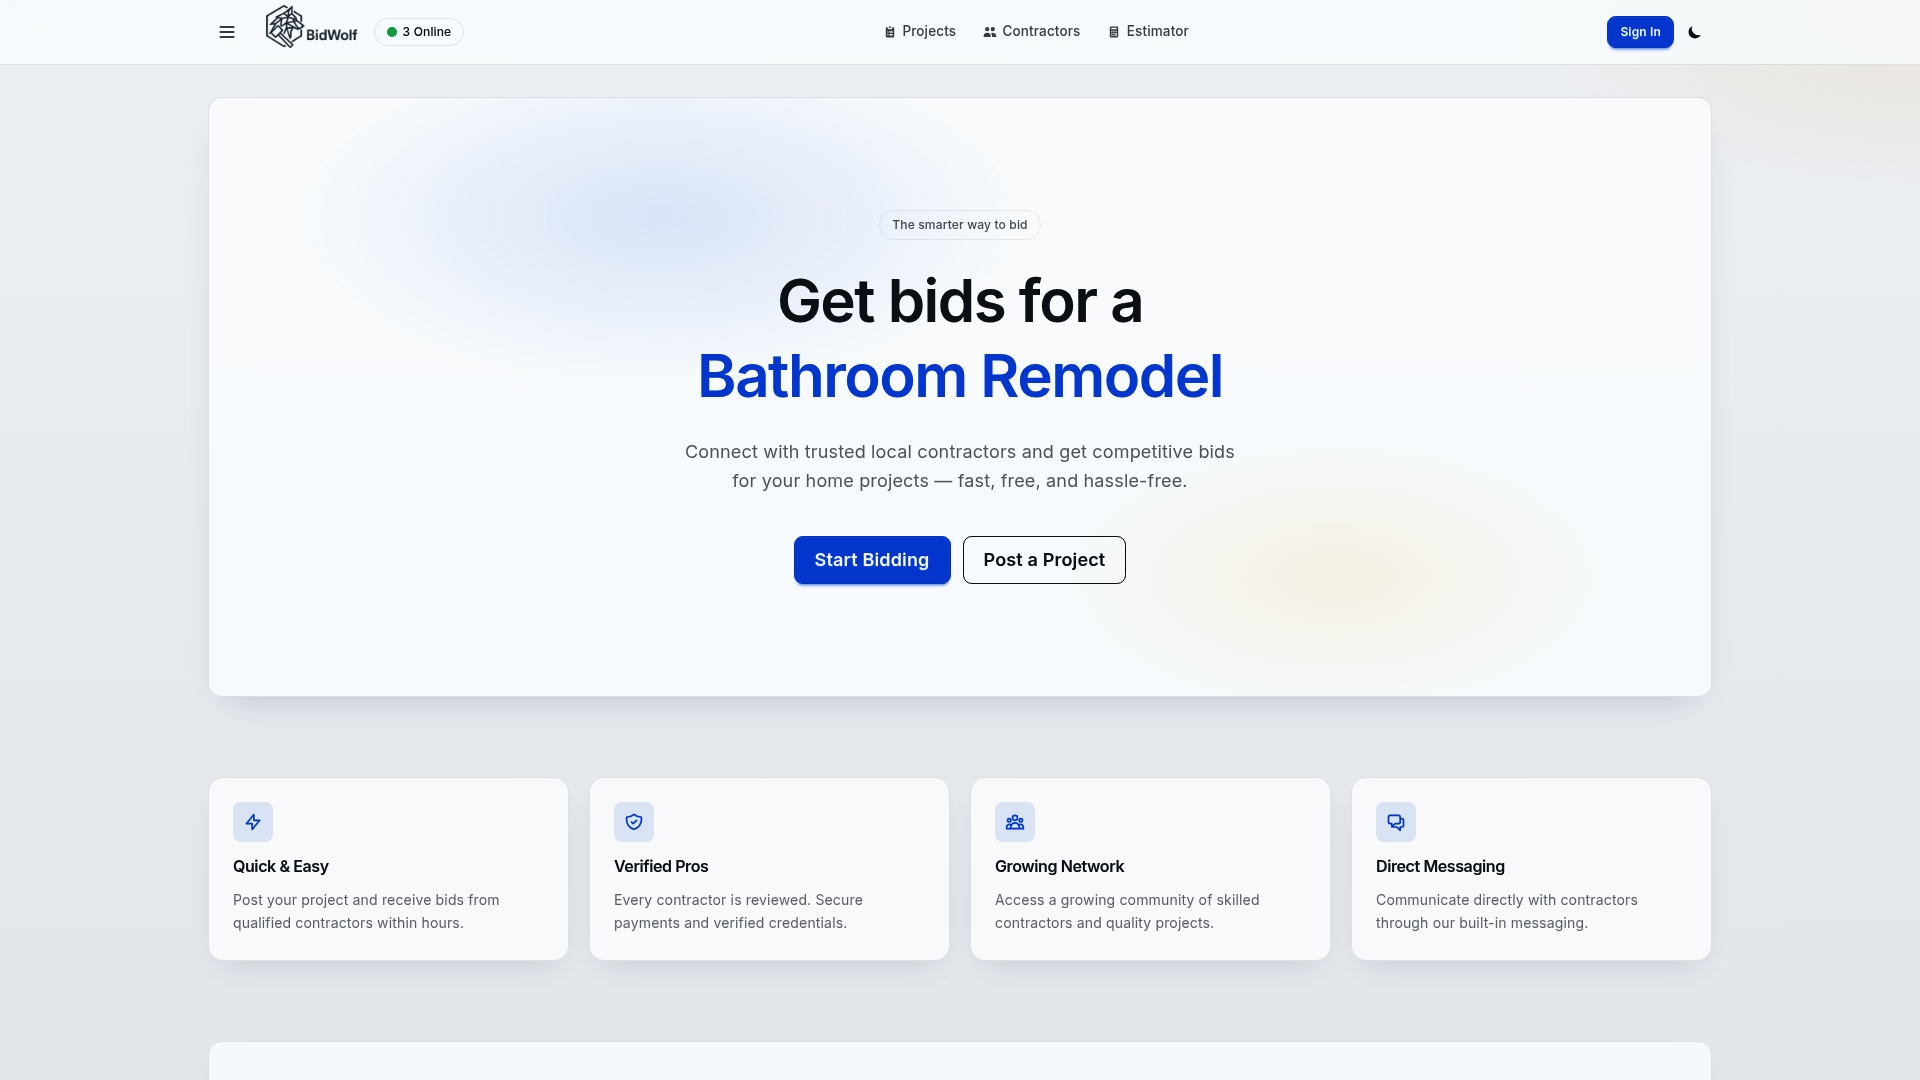
With Bidwolf, you post your project once and receive competitive bids from license-verified local contractors in your area. You can compare bids side by side, communicate directly with contractors through the built-in messaging system, and track your project from start to finish. No cold calls, no guesswork, no chasing down estimates.
Whether you’re looking to find local contractors for a bathroom remodel or need a free cost estimate to start your budget planning, Bidwolf gives you the tools to move forward with confidence. The platform’s growing network of verified tradespeople across Texas means you get real bids from qualified professionals, fast.
Post your bathroom remodel project on Bidwolf today and see what competitive, transparent bidding looks like in practice.
FAQ
How long does a bathroom remodel take?
A standard bathroom remodel takes 4 to 6 weeks. A full gut and rebuild, including plumbing and electrical changes, typically runs 8 to 12 weeks depending on material lead times and inspection scheduling.
What order do you follow in a bathroom remodel step by step?
The correct sequence is planning and permits, demolition, rough-in plumbing and electrical, inspections, waterproofing, tile installation, painting, and then fixture and cabinetry installation, followed by final accessories and punch list completion.
How much should I budget for unexpected costs?
Set aside 15 to 20% of your total project budget as a contingency fund. Hidden water damage, mold, or failing pipes discovered during demolition are common and require immediate attention.
When should I order bathroom materials?
Order all materials before demolition begins. Custom vanities need 6 to 12 weeks lead time, specialty tile needs 4 to 8 weeks, and standard fixtures take 2 to 4 weeks. Late material orders are the most common cause of extended project timelines.
Do I need a permit for a bathroom remodel?
Most jurisdictions require permits for work involving plumbing, electrical, and structural changes. Always check with your local building department before starting work. Unpermitted work can create problems when you sell your home and may require costly corrections to pass inspection.