

How to Manage Home Projects: A Practical Guide

TL;DR:
- Effective home project management involves organizing scope, schedule, budget, and communication to complete renovations on time and within budget. Using a structured four-phase framework and setting clear tools like scope documents, contingency funds, and project trackers helps homeowners prevent cost overruns and delays. Consistent communication and strict change order discipline are essential to maintaining control and ensuring project success.
Effective home project management is the practice of coordinating scope, timeline, budget, and contractor communication to deliver a renovation on time and within cost. Homeowners who apply this discipline avoid the two most common failures: budget overruns and schedule delays. The four-phase framework used by professional remodelers, Planning, Bidding, Execution, and Closeout, gives you a repeatable structure for any project size. Whether you are remodeling a kitchen or replacing a roof, knowing how to manage home projects with this structure is the difference between a smooth renovation and a costly ordeal.
What are the essential tools for managing a home project?
Every well-run renovation starts with three non-negotiable foundations: a written scope, a realistic budget, and a permit plan. Without these in place before any contractor sets foot on your property, you are managing chaos rather than a project.

Scope document
A scope document defines exactly what is included and excluded from the project. It lists materials, finishes, dimensions, and the specific work each trade will perform. Vague scopes are the leading cause of mid-project disputes, and reviewing scope line-by-line with your contractor before signing protects both your timeline and your budget. A one-page scope summary, shared with every contractor bidding on the work, eliminates ambiguity from the start.
Budget and contingency
Set your budget before you solicit bids, not after. A contingency fund of 10–30% above your base estimate is the industry standard, with older homes and complex projects sitting at the higher end. That reserve covers hidden rot, code upgrades, and material price changes. Treat the contingency as a locked account, not a slush fund for upgrades.
Permits and timing
Most structural, electrical, plumbing, and HVAC work requires a permit. Pulling permits before work begins protects you legally and prevents costly stop-work orders. Contact your local building department early, because permit timelines vary from a few days to several weeks depending on your municipality.
Project tracking tools
A simple spreadsheet with columns for task, assigned trade, start date, end date, estimated cost, and actual cost covers most residential projects. For larger renovations, a dedicated project tracking app gives you real-time visibility into schedule and spend. The goal is a single document every stakeholder can reference, not a collection of text messages and email threads.
Key tools to set up before work begins:
- Written scope document with inclusions and exclusions
- Line-item budget with a 10–30% contingency reserve
- Permit checklist from your local building department
- Shared project tracker (spreadsheet or app)
- Shared calendar with milestone dates for each trade
Pro Tip: Set up a shared cloud folder on Google Drive or a similar platform before the project starts. Store your scope, contracts, permit copies, and inspection reports there. Every contractor and family member involved has access, and nothing gets lost in an inbox.
How to structure your home project timeline
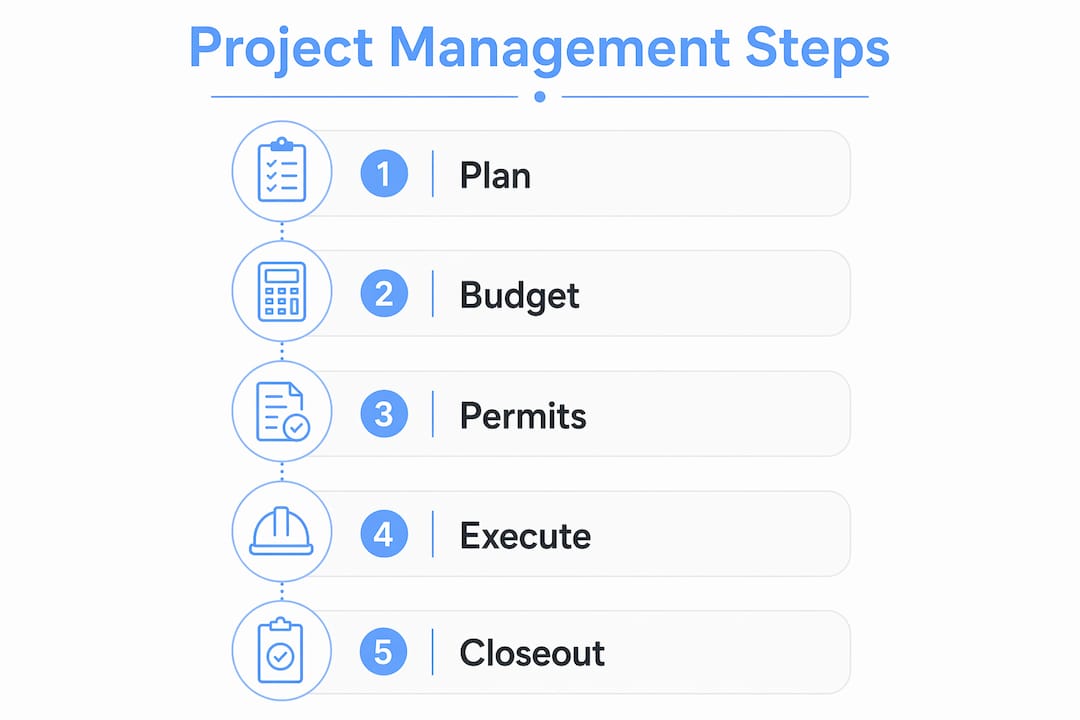
Sequencing trades in the correct order is the single most powerful cost-control move available to homeowners. Proper task sequencing can prevent up to 35% of common project cost overruns. That figure reflects the real cost of having a tile installer show up before the plumber has set the drain, or a painter finishing walls before the electrician has run new circuits.
Standard trade sequence for interior renovations
Follow this order on any interior renovation to protect finished surfaces and pass inspections without rework:
- Demolition — Remove existing finishes, fixtures, and any hazardous materials such as asbestos or lead paint.
- Structural work — Framing changes, beam installation, and any load-bearing modifications.
- Rough mechanical — Plumbing, electrical, and HVAC rough-in. Coordinating plumbing with framing at this stage avoids costly changes later.
- Inspections — Schedule rough-in inspections before closing walls. Failing an inspection after drywall is up multiplies repair costs.
- Insulation and drywall — Only after all rough inspections pass.
- Finish carpentry and cabinetry — Doors, trim, and cabinets go in after drywall is taped and primed.
- Painting — Prime and paint before flooring to avoid drips on finished surfaces.
- Flooring — Install after painting to protect the finished floor.
- Finish mechanical — Plumbing fixtures, electrical devices, and HVAC registers.
- Final punch list and inspection — Walk the project with your contractor and document every incomplete or deficient item before releasing final payment.
Typical project timelines
| Project type | Typical duration | Key scheduling risk |
|---|---|---|
| Bathroom remodel | 3–6 weeks | Tile and fixture lead times |
| Kitchen remodel | 6–12 weeks | Cabinet fabrication and delivery |
| Whole-home renovation | 4–9 months | Permit delays and trade availability |
| Roof replacement | 1–5 days | Weather windows |
Managing long-lead items
Order cabinets, windows, specialty tile, and custom fixtures before demolition begins. Lead times on semi-custom cabinets commonly run 6–10 weeks. A project stalls when the framing is done but the cabinets are still in a warehouse. Build delivery dates into your schedule as hard milestones, and confirm shipping status weekly once an order is placed.
Pro Tip: Hold a brief weekly check-in call with your general contractor every Monday morning. Ask three questions: What is being completed this week? What is at risk of slipping? What decisions do you need from me? This 15-minute call prevents small issues from compounding into week-long delays.
What are best practices for budgeting and managing change orders?
Americans spent $526 billion on home improvements in 2026, with a median project cost of $20,000. Projects that lack structured cost tracking routinely exceed that median. The gap between budgeted and actual spend almost always traces back to two causes: scope creep and untracked change orders.
Line-item budgeting versus lump-sum budgeting
A lump-sum budget tells you the total. A line-item budget tells you where the money goes. Track every category separately: demolition, framing, plumbing, electrical, HVAC, drywall, flooring, cabinetry, countertops, fixtures, painting, and permits. When a line item runs over, you see it immediately and can adjust another line before the total blows out.
A project tracker that records estimated versus actual costs helps you identify overruns early and shift funds between categories while you still have options. Waiting until the project is 80% complete to review costs leaves you with no room to course-correct.
Change order discipline
Every change to the original scope must be documented in writing before work begins. A change order states what is being added or removed, the cost impact, and the schedule impact. Verbal agreements on change orders are the fastest way to end a project in a dispute.
Change order best practices:
- Require a written change order for any scope addition over $200
- Record the cost impact and schedule impact on every change order
- Sign and date the change order before the contractor starts the new work
- Log every change order in your project tracker as a separate line item
- Review cumulative change order totals weekly against your contingency balance
Pro Tip: When a contractor proposes a change, ask for 48 hours before approving. Use that time to check whether the change is truly necessary, get a second opinion on the price if the amount is significant, and confirm the schedule impact in writing.
Recognizing and controlling scope creep
Scope creep is the gradual expansion of a project beyond its original boundaries, usually through small, seemingly reasonable additions. Each individual addition feels minor. Collectively, they can add 20–30% to your final cost. The defense against scope creep is a frozen scope document. Once construction begins, any addition goes through the formal change order process, no exceptions.
A formal final walkthrough and punch list before releasing final payment is the last line of financial defense. Never pay the final draw until every punch list item is resolved to the standard specified in your contract.
How can homeowners lead effective communication during renovations?
Successful project management is about coordinating information, not just directing tasks. Defining a single point of contact before work starts prevents contradictory instructions and costly rework. On a multi-trade project, that person is typically the general contractor. On a self-managed project, it is you.
Setting up your communication structure
Clear communication does not happen by accident. It requires a defined structure that every trade follows from day one.
- Single decision-maker: One person approves changes, answers contractor questions, and signs off on completed work. Two homeowners giving different instructions to the same contractor is a recipe for rework.
- Weekly check-in calls: Scheduled weekly calls with your contractor keep small issues from becoming major delays. Set a recurring time and stick to it.
- Daily progress summaries: Ask your contractor for a brief end-of-day text or email noting what was completed and what is planned for tomorrow. This takes two minutes and keeps you informed without requiring you to be on-site all day.
- Written documentation: Confirm every verbal decision in writing within 24 hours. A simple email stating “Confirming our conversation today: we agreed to upgrade the kitchen faucet to the Moen Arbor model at an additional cost of $180” creates a paper trail that protects both parties.
- Kickoff meeting: Hold a formal kickoff meeting before demolition begins. Walk the site with every trade present, review the scope, confirm the schedule, and establish communication expectations.
“Homeowners who establish a consistent communication rhythm feel more in control and avoid cascading delays. The rhythm matters as much as the content of any single conversation.”
Pro Tip: Create a shared communication log, a simple running document where you record the date, who said what, and what was decided. Review it at every weekly check-in. This single habit resolves more disputes than any contract clause.
Avoiding fragmented communication
Fragmented communication happens when contractors receive instructions from multiple sources, or when decisions are made verbally and never recorded. The result is contradictory work, duplicated effort, and finger-pointing when something goes wrong. A clear homeowner-contractor communication structure, established at the kickoff meeting, eliminates most of these problems before they start.
For guidance on evaluating bids and reviewing contractor qualifications before the project begins, the Bidwolf blog covers selecting service providers in detail.
Key Takeaways
Locking in your project scope before construction begins is the single most effective way to protect both your timeline and your budget throughout a home renovation.
| Point | Details |
|---|---|
| Use a four-phase framework | Follow Planning, Bidding, Execution, and Closeout to reduce risk on every project. |
| Set a 10–30% contingency | Reserve funds above your base budget to cover hidden costs and code upgrades. |
| Sequence trades correctly | Follow the standard trade order to prevent rework and protect finished surfaces. |
| Track costs line by line | Record estimated versus actual costs weekly to catch overruns before they compound. |
| Define one decision-maker | A single point of contact prevents contradictory instructions and costly rework. |
What I’ve learned from watching renovations succeed and fail
I have seen homeowners with generous budgets end up with unfinished kitchens, and I have seen homeowners on tight budgets complete full gut renovations on time. The difference is almost never money. It is preparation and discipline.
The projects that go sideways share a common pattern. The homeowner was excited to start, skipped the planning phase, and made decisions on the fly once workers were already on-site. Every on-the-fly decision costs more than the same decision made during planning. A tile upgrade decided during demolition costs two to three times what it would have cost in the design phase, because the contractor has to re-order, re-schedule, and sometimes redo work already completed.
The hardest advice to follow is also the most valuable: freeze your scope before you break ground. I know how tempting it is to add “just one more thing” once the walls are open and the possibilities feel real. Resist it. Every addition mid-project competes with the original work for your contractor’s time and your budget’s headroom.
Building a genuine working relationship with your contractor pays dividends that no contract clause can replicate. Contractors prioritize clients who communicate clearly, make decisions promptly, and pay on schedule. When a scheduling conflict arises, and it will, the homeowner with a good relationship gets the crew first. Treat your contractor as a professional partner, not an adversary, and your project will reflect that dynamic.
The home project planning checklist I recommend to every homeowner covers the pre-construction phase in detail. Work through it before you sign a single contract.
— Devin
Bidwolf makes home project coordination straightforward
Managing a renovation means tracking bids, budgets, timelines, and contractor conversations all at once. Bidwolf brings those pieces together in one place, so you spend less time chasing information and more time making good decisions.
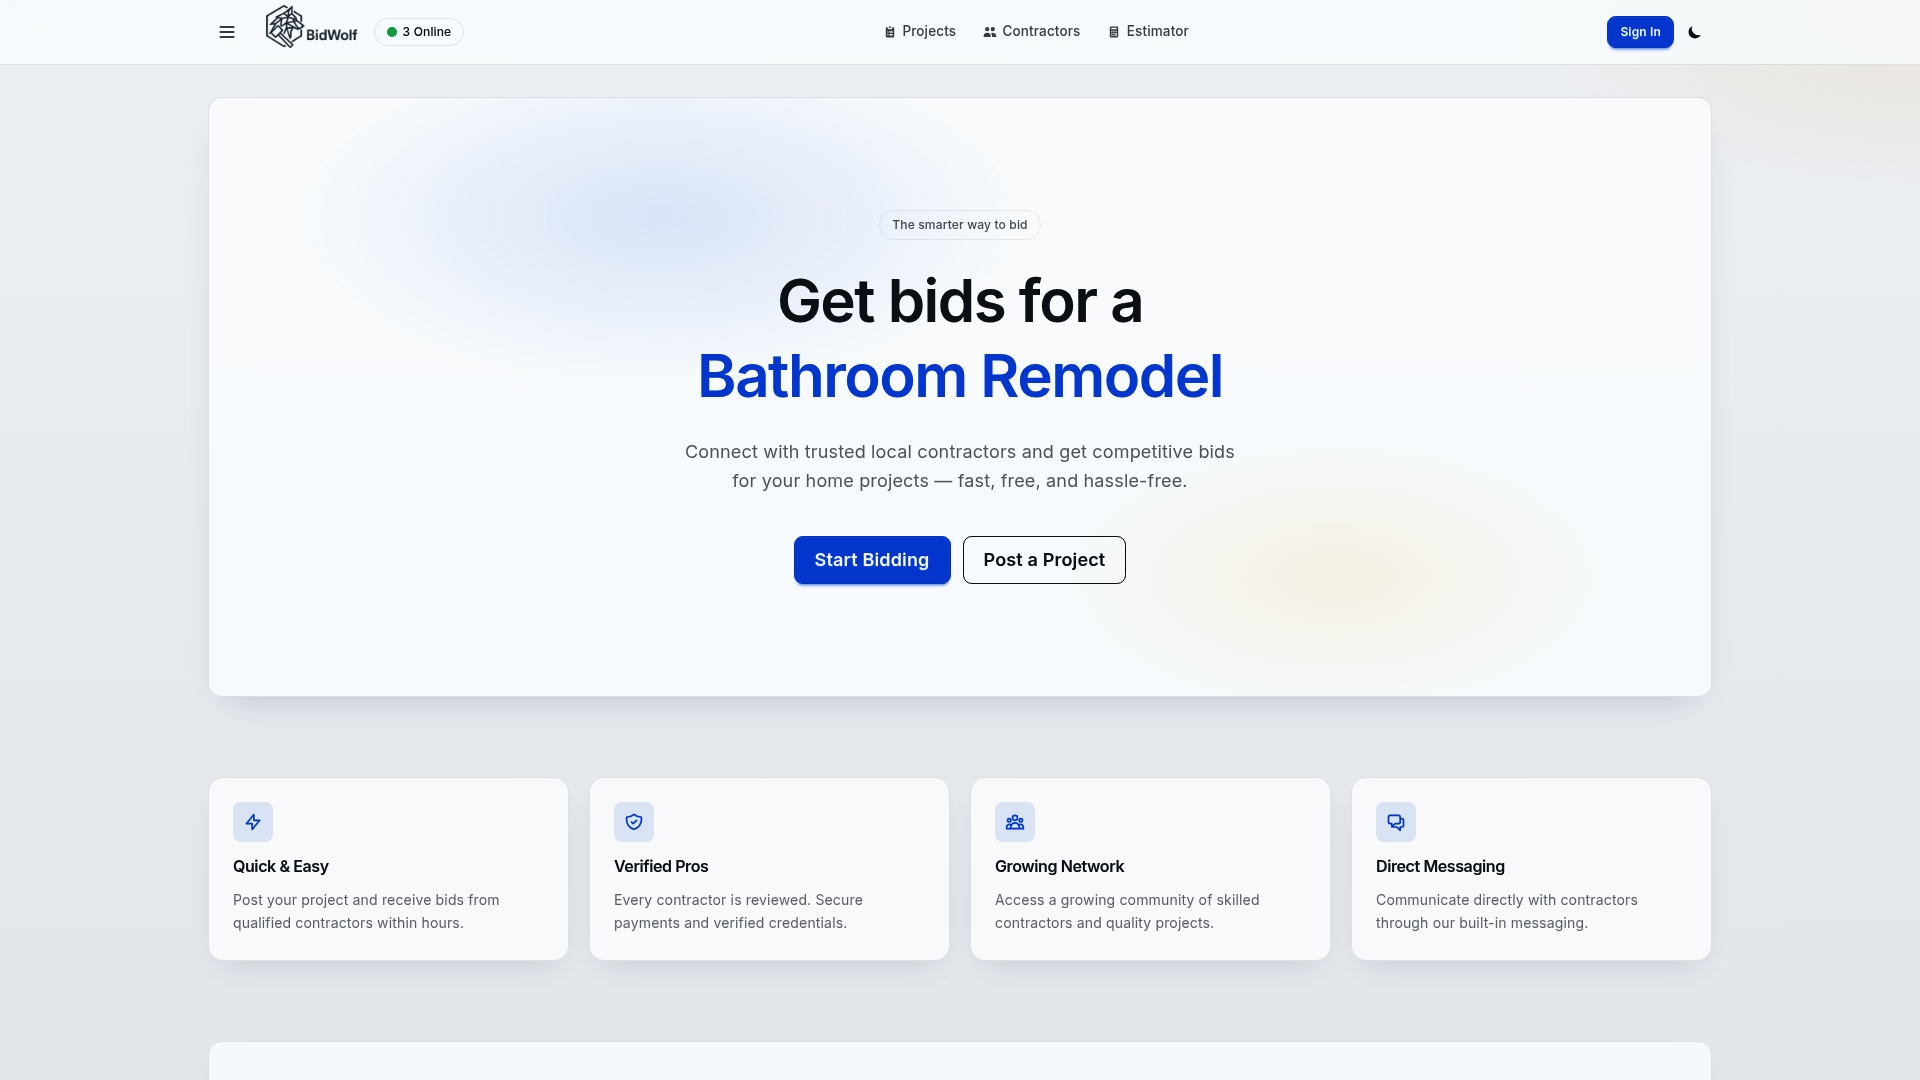
Post your project on Bidwolf and receive competitive bids from vetted local contractors in your area. The built-in messaging system keeps every conversation on record, and the project dashboard gives you a clear view of where your budget and schedule stand at any point. Bidwolf’s network covers roofing, electrical, plumbing, kitchen and bathroom remodels, and landscaping across Texas. If you are ready to find local contractors who meet your standards, Bidwolf connects you with verified professionals who have the credentials and track record to back their bids.
FAQ
What does home project management actually involve?
Home project management means coordinating scope, budget, timeline, and contractor communication across all phases of a renovation. The four-phase framework of Planning, Bidding, Execution, and Closeout gives homeowners a repeatable structure for any project size.
How much contingency budget should I set aside?
A contingency of 10–30% above your base estimate is the industry standard. Older homes and complex projects warrant the higher end of that range to cover hidden structural issues and code upgrades.
How do I prevent cost overruns on a home renovation?
Track costs line by line using estimated versus actual columns, require written change orders for every scope addition, and freeze your scope before construction begins. Early detection of overruns gives you time to adjust other line items before the total budget is compromised.
What is the correct order to schedule trades on a renovation?
The standard sequence runs: demolition, structural work, rough mechanical (plumbing, electrical, HVAC), inspections, insulation and drywall, finish carpentry, painting, flooring, and finish mechanical. Following this order protects finished surfaces and prevents inspection failures that require tearing out completed work.
How often should I communicate with my contractor during a project?
Weekly check-in calls and daily progress summaries are the recommended minimum. Consistent communication keeps small issues from compounding and gives you early warning of schedule or budget risks before they become serious problems.